Earlier this month, I did my annual post about what planners I’m choosing for the upcoming year. In that post, I mentioned that a new thing I’ve added to my system is a 90-Day “Done” planner, meaning a place where instead of marking down my To Do list (which I do in my main planner), I mark what I’ve done separated out by category.
Since I’ve done that post, I’ve had a number of people ask follow up questions about the details of this planner, so I’ve decided to do a post to explain how I’m using it.
The Concept: Overcoming the Dark Side of the Traditional To Do List
I got the inspiration for a 90-Day Goals planner from author Sarra Cannon. She has some great videos on her site explaining how she sets and keeps track of her 90-day goals. So when I was putting together my 90-Day planner, I grabbed a Happy Planner Teacher Planner because that’s what Sarra was using. But then when I put it all together, I realized that I didn’t need those pages to mark To Dos. I already have my Day Designer that houses that kind of list. So what could I use this shiny new layout for?
Well, the beauty of the teacher planner is that it’s divided into columns so that teachers can have separate lists for their different classes. But I realized it was the perfect set up to break down the different areas of my work and home life to visualize where I’m making progress. This made sense to me because the dark side of a traditional to do list is that you can check off a lot of things and wow look at all those check marks! But you may be checking off lots of inconsequential things that don’t really move the needle on your big goals. If I have a day where I’ve checked off ten things, but those things are like “mailed something”, “emailed someone”, “did laundry”, and I didn’t write any words on a book I’m drafting, have I really been very productive? No, I’ve probably been procrastinating the hard stuff.
So the idea behind the Done Planner is that not only can I see what I’m getting accomplished, I can see if I’m doing things that work toward those big 90-day goals. This has been a huge help. And on the flipside, it’s also given me a different view at the end of the week because sometimes you feel like you haven’t gotten anything done. But now I can look at my Done Planner and see ”Oh, hey, I wasn’t so great at social media this week, but that’s because I’ve really worked hard on these other two important goals.” It’s a clear picture of where I’ve spent my time, and that’s very rewarding. It gives me more a sense of peace at the end of the day or week (and gives me mental permission to take a break that evening or weekend.)
So are you interested? Let’s talk about setup and how I’m using it.
Setting Up the Planner
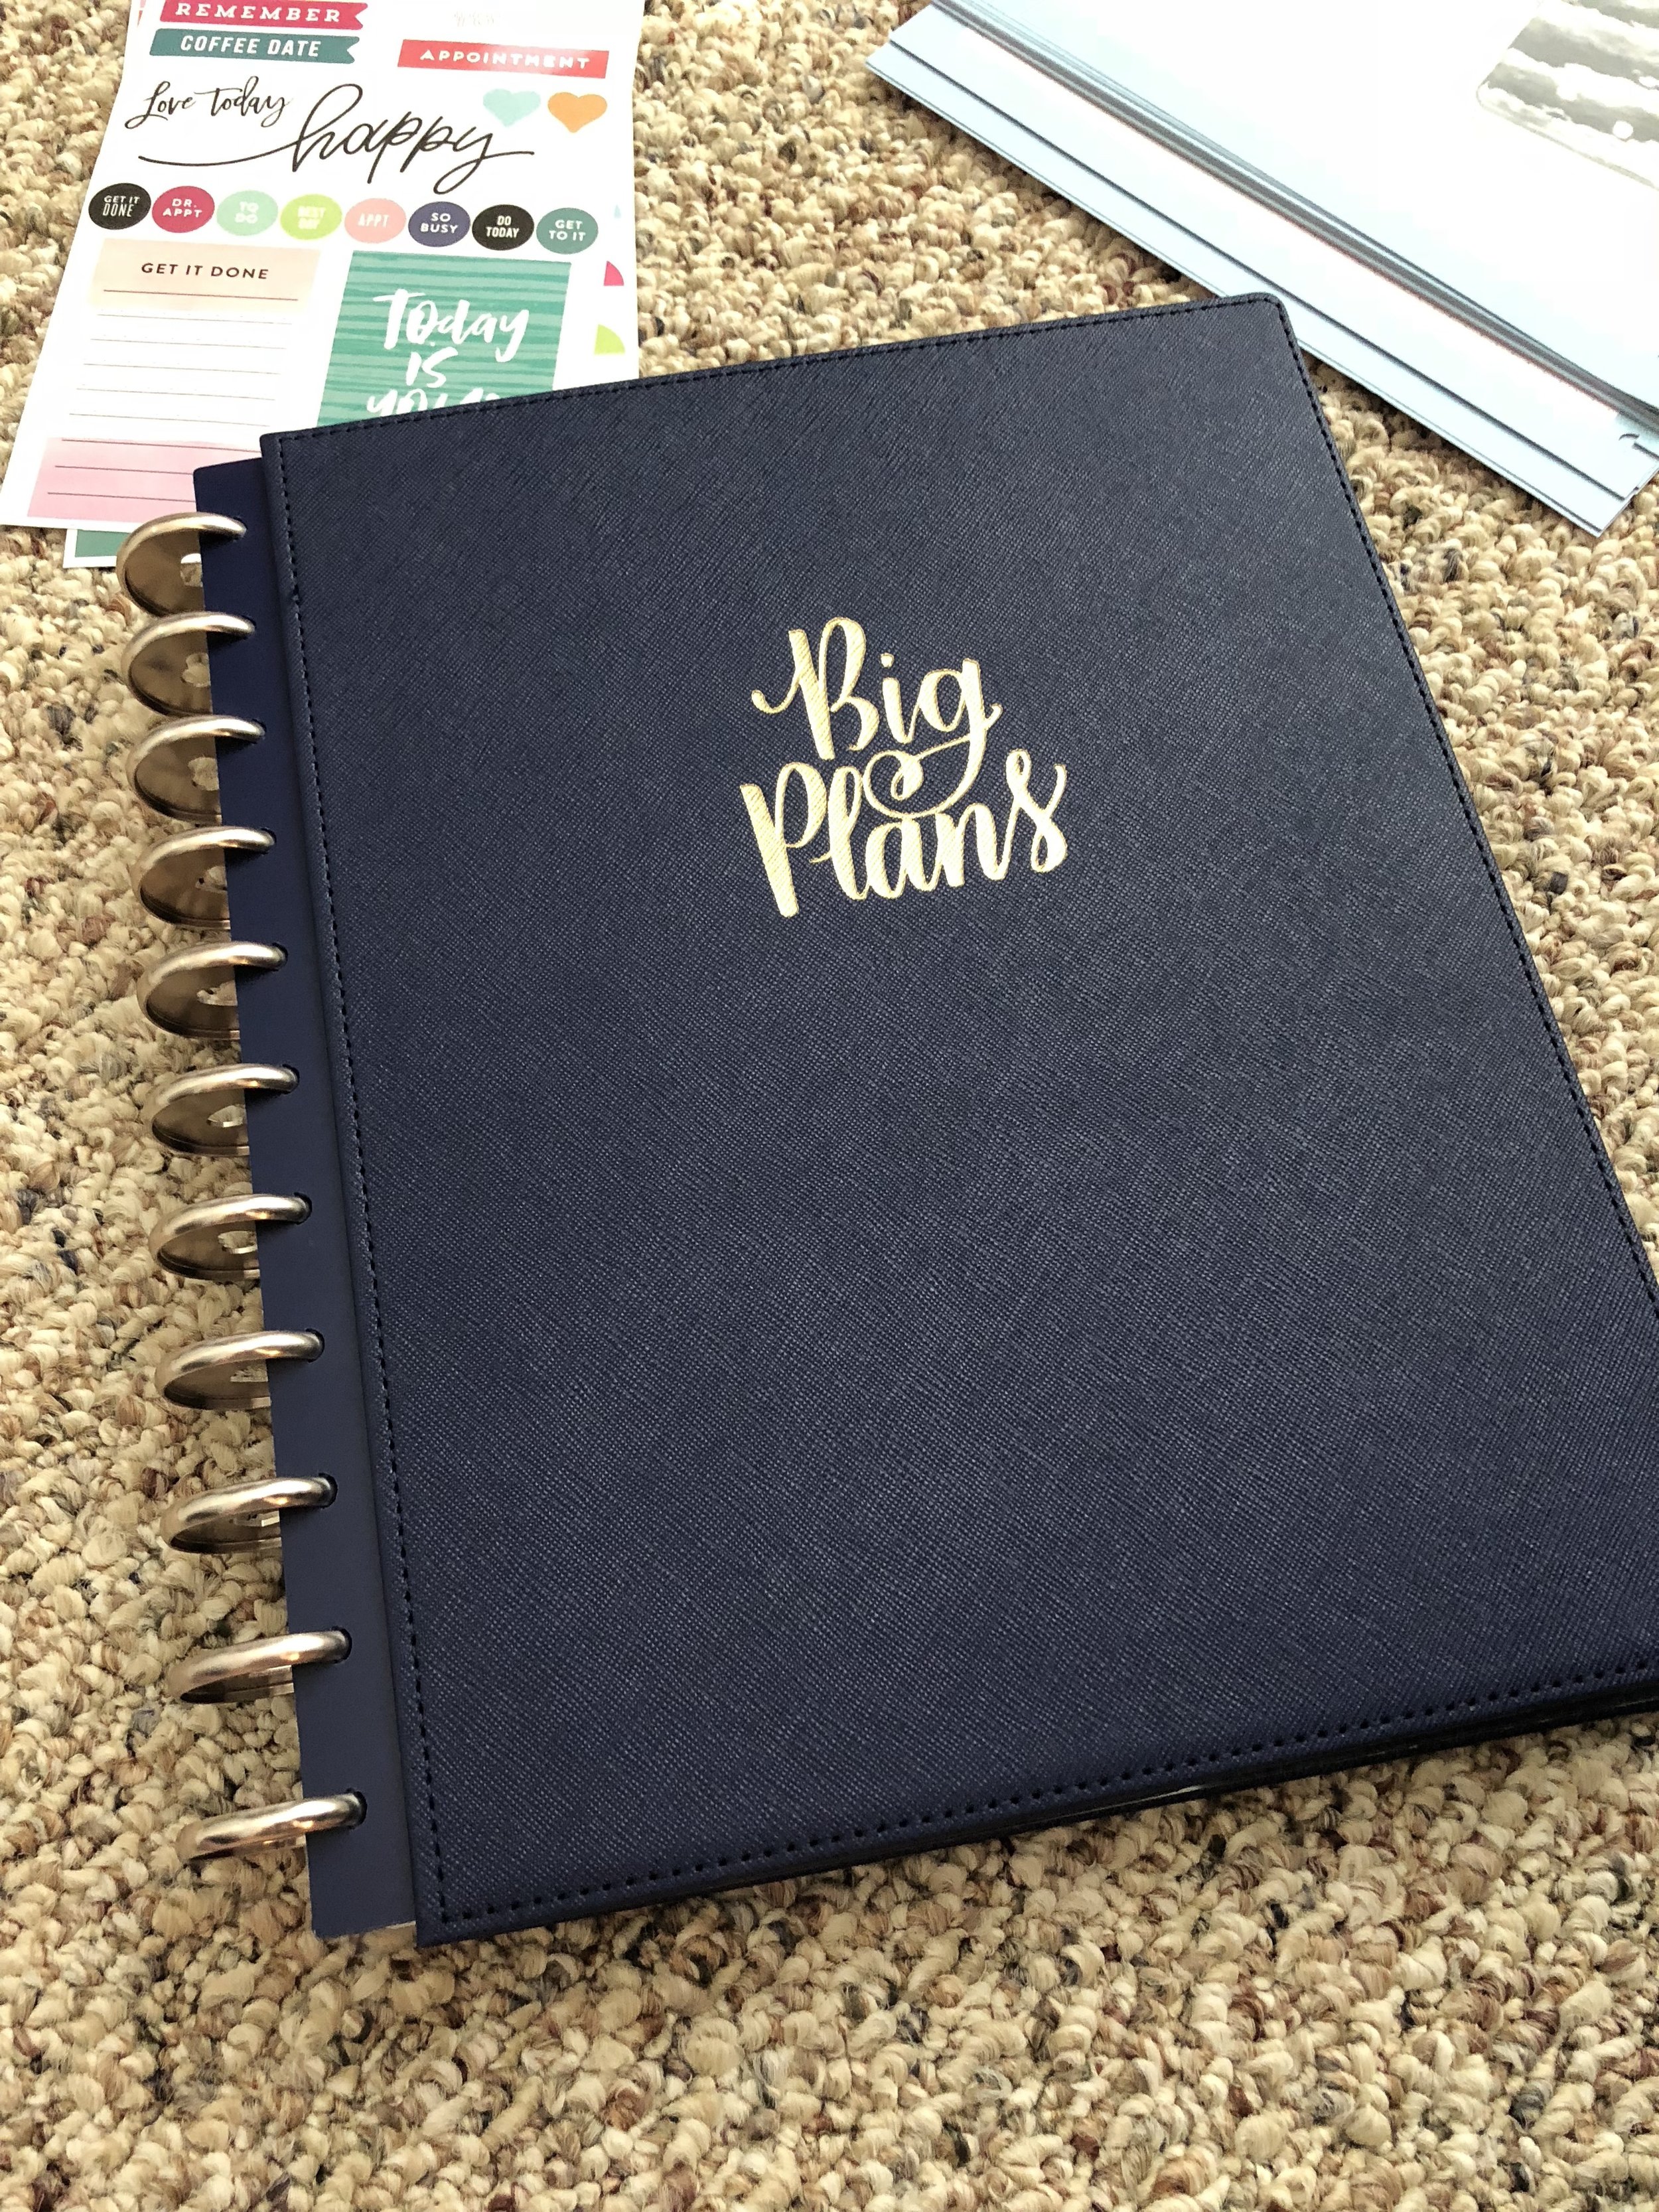
I’ve put everything in a Happy Planner hardcover discbound system. You can find this stuff at Michael’s and some Targets still have teacher planners on clearance. Amazon also still has a few left in stock. (29.99 is the standard price, so beware if you see any marked up.) The teacher planner does not come with this kind of cover. You can buy the hard cover separately, but it’s not necessary to have if you’re happy with the flexible cover the planner comes with.
Inside the teacher planner looks like this to start:
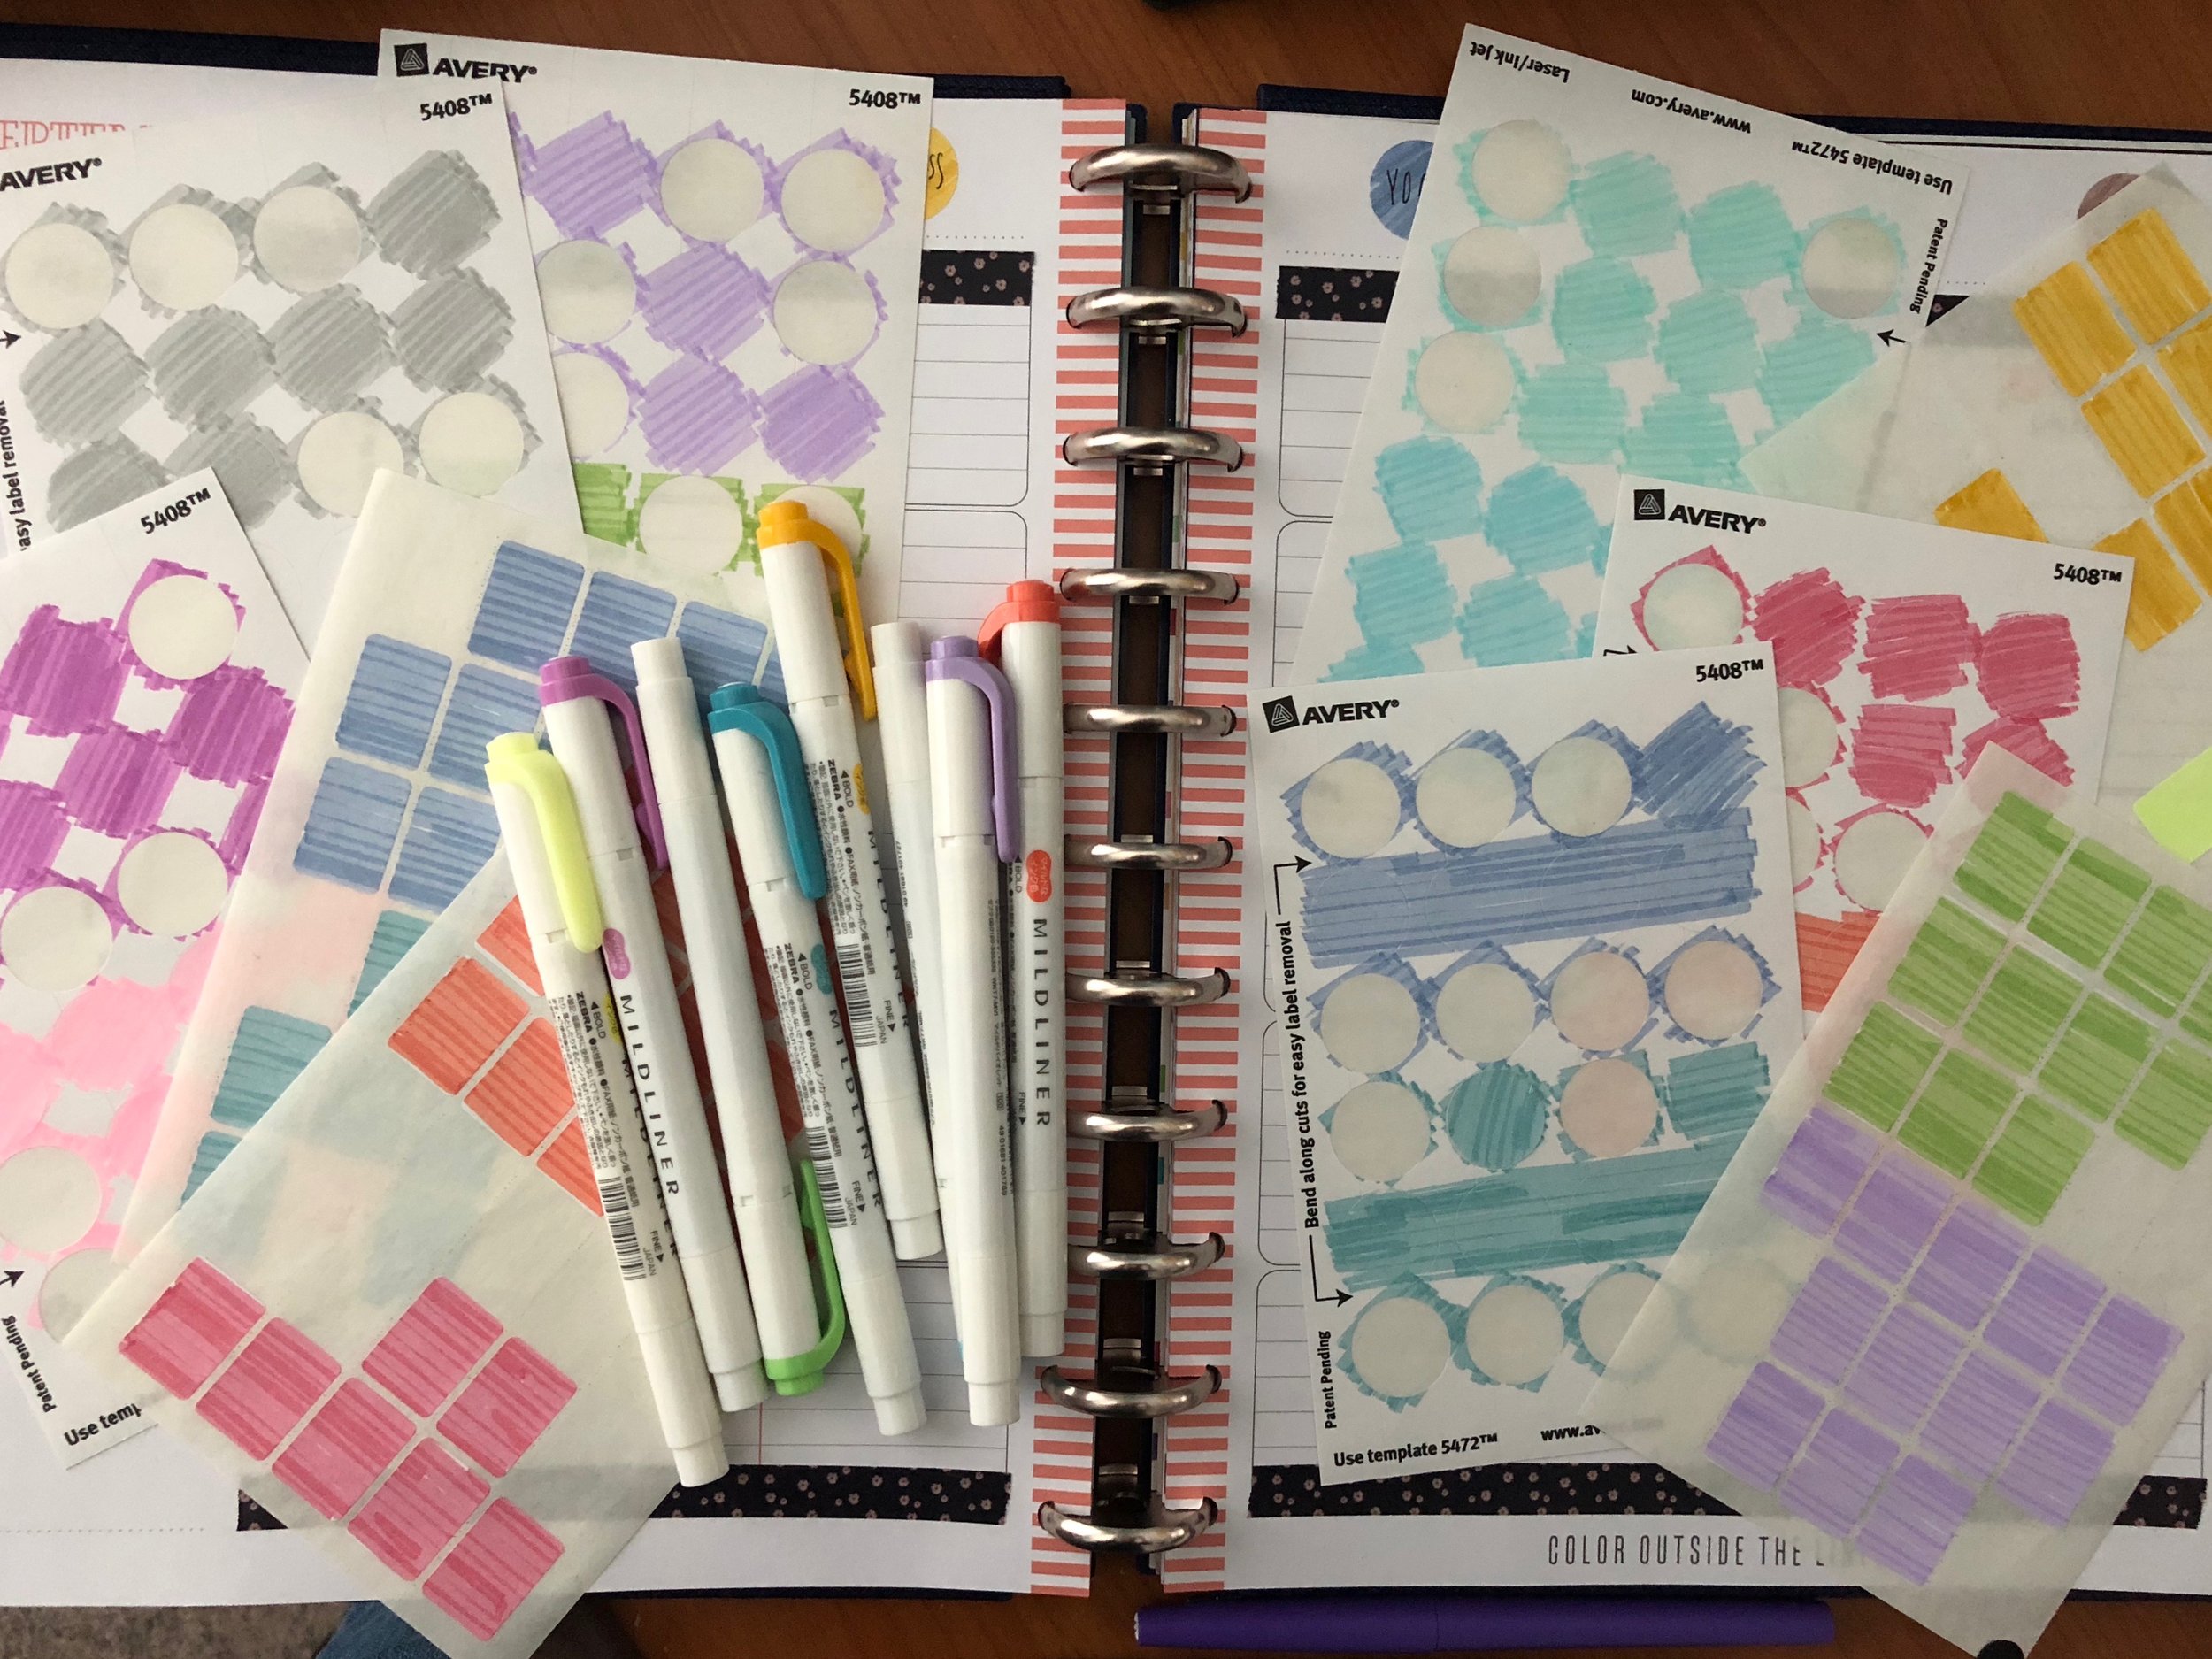
So here’s where your customization begins. See those blank spaces at the top of the columns? This is where you’re going to choose the buckets you want to focus on. You can simply write the title on top of each column (especially if you have better handwriting than I do), but I love the way the Avery stickers look colored with my mildliners (highlighters that aren’t so bright.) I use the Avery removable 3/4 inch circles (which are cheap on Amazon right now with their included coupon) and the Avery 5424 small removable rectangles. I usually color these all in one sitting while I’m watching TV or something and they last forever. I’ve had all these for probably a year now.
The Columns
Once you decide what you’re going to use to label your columns, now it’s time to decide what you want to name your columns. Really give this some thought because you don’t want to be tracking useless things. For my first three, I used my three main 90-day goal areas:
1. Writing - This is where I mark down word count and anything that has to do with moving my story forward. That means some days I may be marking down brainstorming/thinking time because I can’t write without thinking a lot. Thinking is work and counts as being productive as long as I’m actively focusing on the book. (Can you tell I had to do a mindshift to accept that a while back? lol)
2. Readers - This is where I mark down social media posts, blog posts, and newsletters. Anything that involves me interacting with readers goes here. So if I was going do a booksigning, it would fall under this category.
3. Business - This is the place where I mark down anything I’m doing that doesn’t fit under the two previous columns that is work-related and helping my business. If I’m taking a course. If I’m reading a book about marketing. If I researched something business-related.
The next four columns don’t directly deal with my 90-Day goals but are general life things and mental/physical wellness things that are very important to me.
4. Yoga - This is where I mark down which video I watched and how long the routine was. I’m doing the videos from Yoga with Adriene. Love them.
5. Input - This term comes from the Gallup Strengthsfinders system, which is a personality framework. But if you’re not familiar with that, this is basically my “refill the well” column. As a writer (and a writer with my particular personality), I need vast amounts of input to refill the creative well. This means reading, TV shows, movies, podcasts, audiobooks. When I let this slide, this is when I get writer’s block. So I’ve made it a priority to make sure I’m refilling the well. I mark down what I’m reading that day, if I watched or listened to something, etc. This is a good example of stuff that wouldn’t be reflected in my traditional To Do list. I wouldn’t write down “watch tv show”. But this done planner let’s me see if I’ve neglected this during the week and worked too much.
6. Budget - Simply where I record anything I spent that day outside of ordinary expenses. (If it’s a lot, it’s often a sign I’ve been surfing the internet too much and avoiding working lol.) I may change this one in the future, but for now, I’m testing this one out.
7. Home - The catch-all category for anything I did for home: laundry, groceries, meal planning, stuff for kidlet. I also usually mark what I’m cooking for dinner there.
So those are my seven categories, but the beauty of this system is that you can choose whatever categories that work for you and your life. What are you working on that you want to pay attention to and track?
Tracking
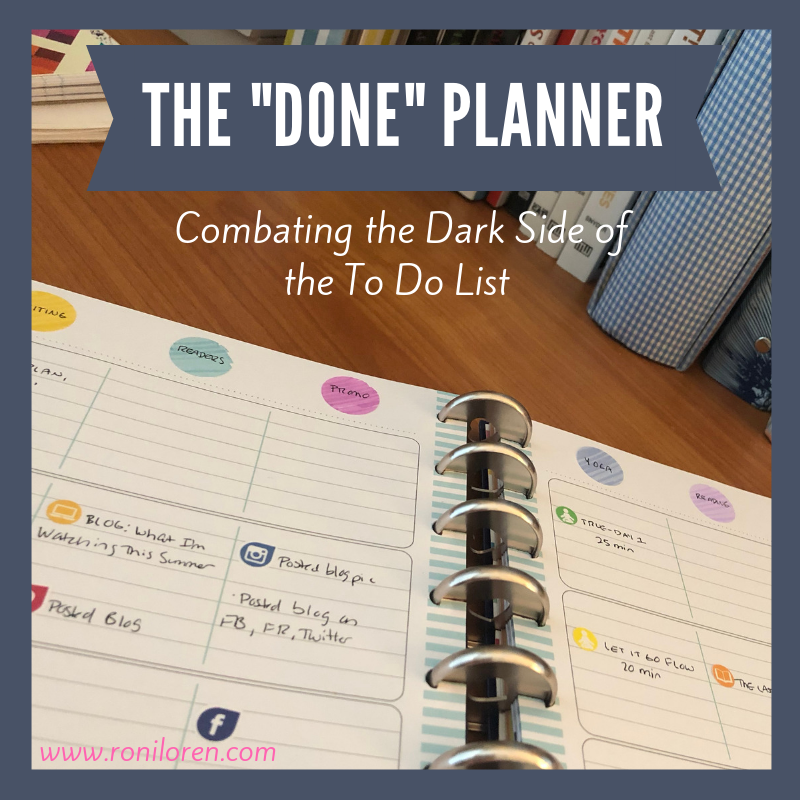
Remember, this is not a planner to write down what you hope to do that week. It’s what you’ve done. So it’s probably going to be something you need to keep open on your desk or easily accessible because if you wait to record what you did later, you’re going to forget. Plus, it feels good when you’ve done something to go mark it down. And hey, if stickers are involved, even better in my opinion. ;-) I’m currently using tiny icon stickers from FayeCreates on Etsy, but you can use whatever works for you. It may just be a bullet point you make with your pen or a colorful little dot sticker. But this is what mine looks like after a week.
And here’s a close up of the icon stickers if you want to see the variety.
Because this is a 90-day plan, I’m only keeping three months at a time in the binder. I’ve found this helpful because it makes the planner less bulky and also keeps me focused on the plan. Like hey, there’s only one month left to go, where am I on these goals?
I’ve been using this system since August, and I can say that I’m loving it. I’ve felt much calmer at the end of the day because I can clearly see what I’ve accomplished. Or I can clearly see which areas have fallen through the cracks. And hey, sometimes that’s okay. Like the week pictured above, I sucked at doing yoga that week but I got A LOT done in many other areas, including starting a book, so I was okay with yoga taking a backseat.
And really, if you’re not a planner fanatic like I am and don’t want to maintain more than one planner, this could easily be modified to be both. You could hold-punch (or disc-punch) a sheet of paper with your To Dos for the week and insert it into this system. There are lots of options because this system is so flexible.
So that’s how I’m using it. I hope you found this helpful! Please let me know if you decide to give it a try!
Resource LIst
Here’s the round-up of supplies and resources if you don’t want to pick through the post to find them:
See you next time!


